Seven easy system upgrades
The road to audio nirvana is a long and often expensive one, paved with varied opinions and frequent trips behind the couch cushions to fund the next upgrade. But what if there are cheaper ways to get your system sounding even better. Ones that won’t give your bank manager a heart attack and some that are even free. Let’s take a quick look at some things you may be able to do to improve your system and keep both kidneys (for now anyway..).
1. Seek professional advice from an experienced Hifi specialist.
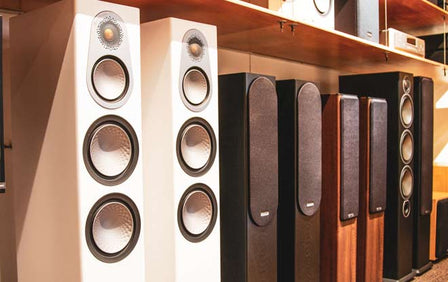
Find yourself a specialist audio or video dealer that you trust and get on with. Build a relationship where they will know your system and understand how to best recommend any upgrades or modifications that can be done and in what order they should be done. Your local store will come in handy when you want to upgrade some of your gear and you’d like to audition it first. This is always a good idea as reviews might give a general idea, but it’s not until you really sit down and listen that you gain a true understanding of its suitability. A specialist retailer will have a wealth of experience that you can draw upon, not to mention different equipment combinations that you can try out. Any of the Soundline stores are happy to recommend and demonstrate equipment to you.
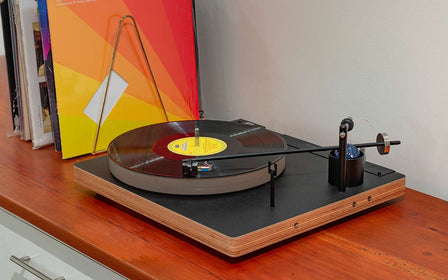
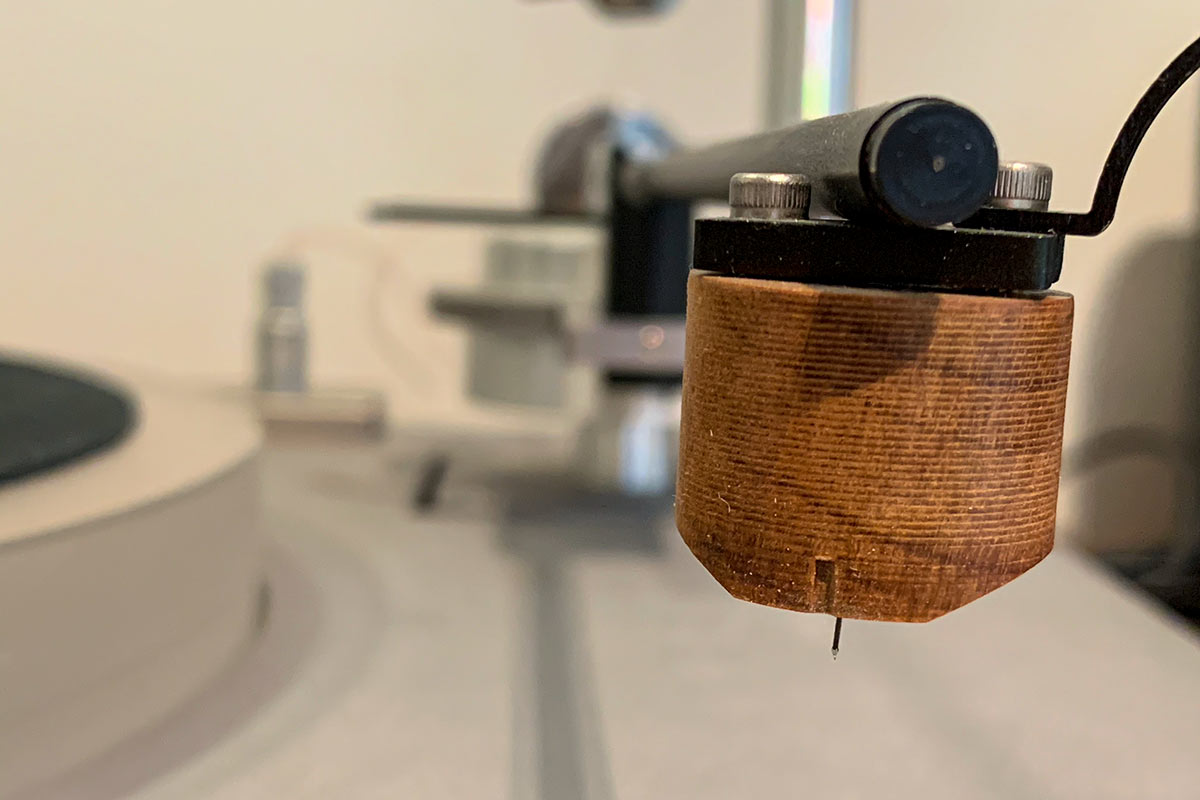
2. Make sure your stylus on your turntable is clean and in good condition.
The stylus on your turntable is the tiny needle that reads all the music on your record and if this is dirty or damaged it will prevent you from hearing all the great sound your music has to offer. If you think your stylus might be damaged or dirty but can’t tell, bring it into us and we’ll inspect it under our microscope for free. Worn styli can potentially damage your records so this is worth checking. While you’re at it, give those records a good clean too. It’s a free sound upgrade.
3. Isolate your components
Vibration can cause unwanted noise to enter the signal path which will result in a loss of sound detail. This noise will also be magnified as it passes through amplification, making it an area well worth spending some effort on. Isolation is a key factor in combating this noise and squeezing every drop of performance from your gear. If you’re dubious about the role vibration plays, have a read through this detailed article.
You’ll get the most bang for your buck by focusing on your speakers and turntable. Speakers require isolation from reverberation-friendly surfaces and a dedicated set of stands will make all the difference, especially with bookshelf speakers. Floor speakers will usually come with spikes so less vibration can travel through to the floor. Spikes are more useful if you have a suspended wooden floor that will amplify any transmitted speaker vibration. Solid concrete floors will see less benefit from the use of spikes. Some people favour spikes (and there’s even discussion on the shape of the spike) while others will favour foam pads or similar to provide the floor to speaker decoupling. Whether you achieve this through commercial solutions or DIY, the best thing to do is test and see which sounds best to you.
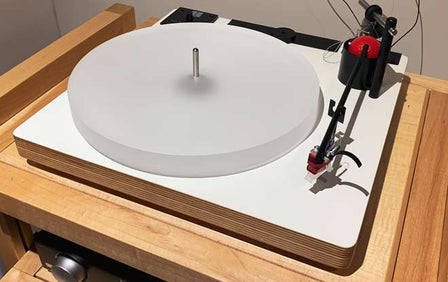
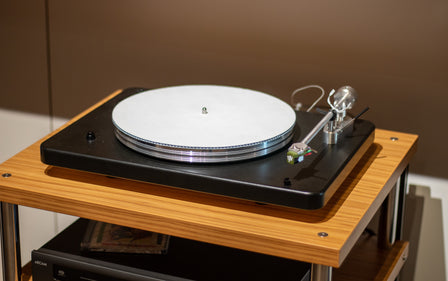
Turntables are especially sensitive to vibration, and some effort towards adding good noise isolation measures is a must to ensure the highest quality sound. The cartridge is essentially a very sensitive vibration sensor so it makes perfect sense to want to eliminate any variations that aren’t coming directly from the vinyl surface itself. Poor isolation can show up as turntable feedback with low frequency sound energy travelling up through the supporting surface and into the turntable equipment. Good isolation will eliminate this and the swelling, droning tone that comes with this feedback (generally <100Hz).
If you decide to get serious with turntable isolation, then the Soul to Sole or Grand Prix Audio systems can provide excellent noise isolation for your components. Most other equipment will probably see less benefit from isolation, particularly anything solid state. The exception to this though is amplifier tubes which are microphonic and definitely worth spending some effort on. Once again, any noise introduced here will pass through to the amplification stage so it’s certainly worth cutting out.

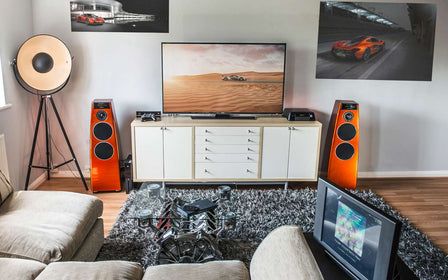
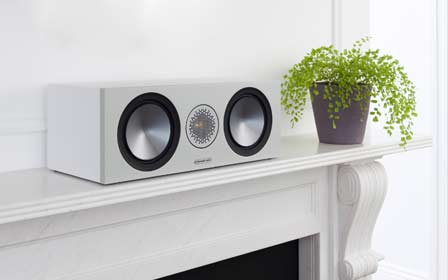
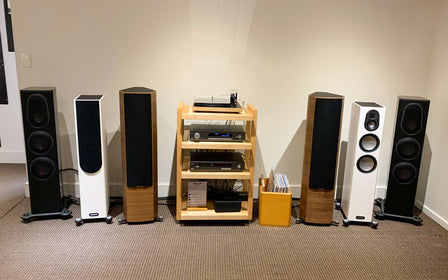
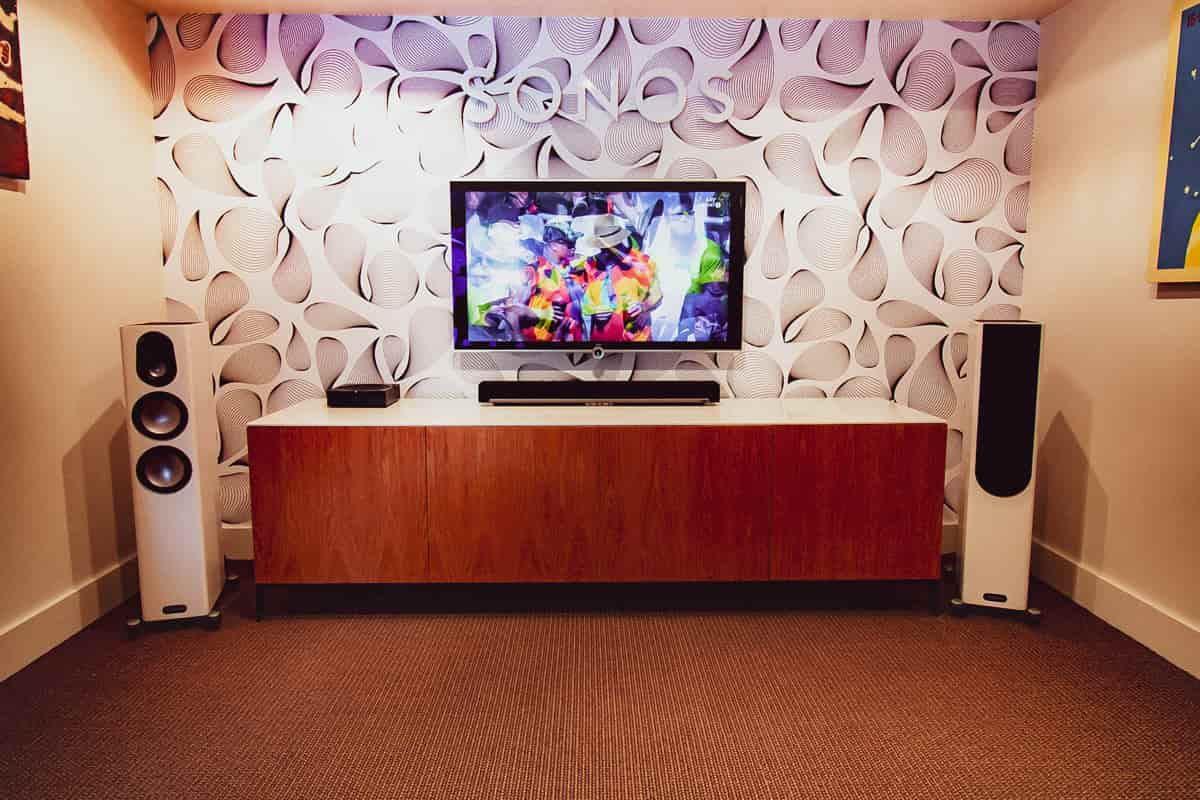
4. Speaker positioning
For a two channel setup, the ideal position is to have the speakers and listener form an equilateral triangle. While this will make the placement symmetrical to the listener, it’s best not to have their placement symmetrical to the room. Establishing this triangle (or as near as possible) is even more important in smaller to medium sized rooms. Once you’ve got your triangle set, add a little angle so each speaker is aimed towards your listening position (known as toe-in). This is also worth experimenting with as some people might prefer the focal point of the speakers slightly behind the listening position. As always, test a few options out and see what sounds best as the result will be quite dependent on speaker and room.
Try and avoid corners and keep your speakers at least 2 feet (60cm) away from walls and the floor (floor speakers are obviously ok on the floor). Having them too close to walls will cause the sound stage to disappear, and it can also result in a bloated sound caused by “corner loading” of lower frequencies). Similarly, try and keep your listening position the same distance away from walls.
Try for the speakers tweeters to be at ear height when you’re sitting in the listening position. Pay attention to the positioning of other objects in the room too and don’t place anything in front of your speakers. Even a house plant will do a great job of deflecting detail away from your ears and destroying sound quality. Experiment with different speaker positions and try using masking tape on the floor to mark the best position as you try various options. Remember that each room is different and these are just guidelines to get you experimenting. If you are unsure, call that friendly dealer we discussed at the beginning and they’ll recommend the ideal positions for your room.
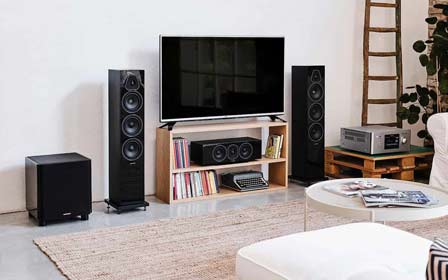
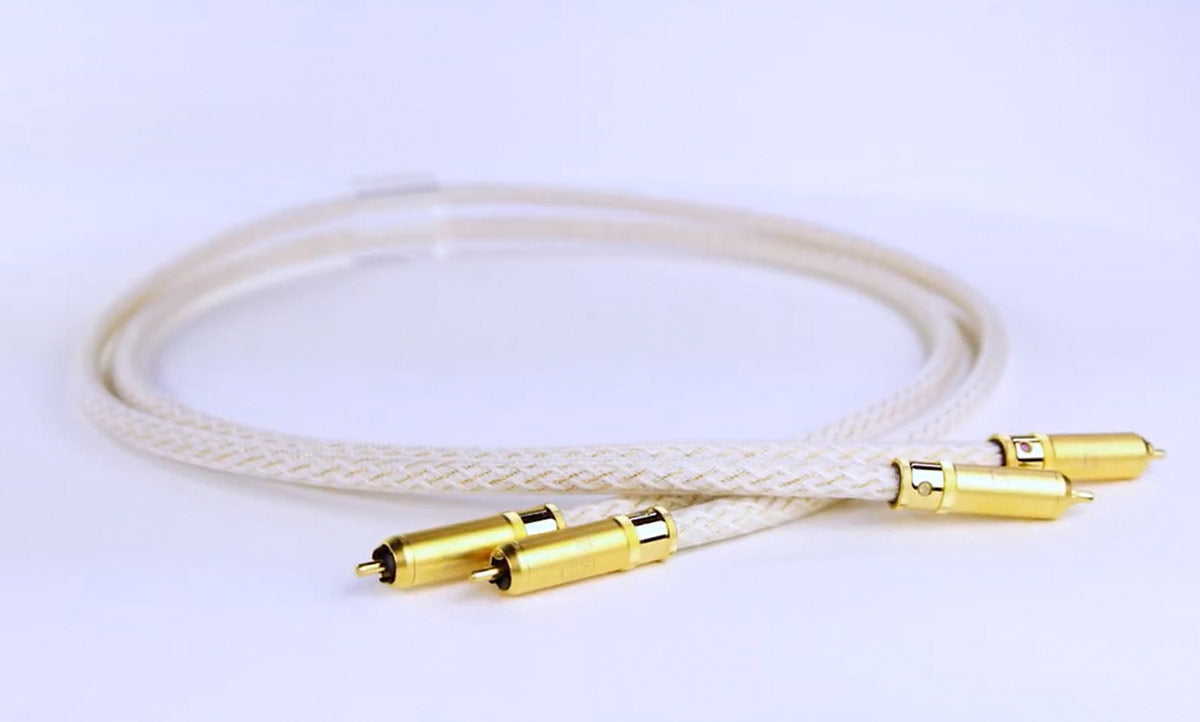
5. Cables
Power is the lifeblood that makes your system work, so it only makes sense to provide it with the cleanest supply you can. To feed your equipment the smoothest, cleanest power possible you could add a specialist power distribution board. These make a big difference to noise levels and again are towards the start of the signal chain so all the benefits are passed through. Even if you can’t add a specialist distribution board, try and use reasonable quality multiboards to keep electrical noise as low as possible. Other appliances in the home can put some significant noise into your electrical system and a quality distribution board will provide a cleaner, clearer supply. Use good quality power cables to your components and start with your main source first (typically CD player, pre-amp, power amp).
Interconnects are the next parts to check. Again, start with your primary source first and work down to the lesser used ones. A quality interconnect like the Kimber Hero is a favourite of ours and will be our go-to for many systems.
The final link is the speaker cable. These should be of good quality that cancel out interference so you’re left with a rich, detailed sound free from harsh tones. If your system came with its own speaker wire then chances are the quality isn’t that great and you’ll hear some benefit from this upgrade. The Kimber speaker cable range has offered us consistently great performance at all price levels for the past four decades. If you have doubts about the difference good cabling can make, please give us a call and request a free demo. It really is worth considering.
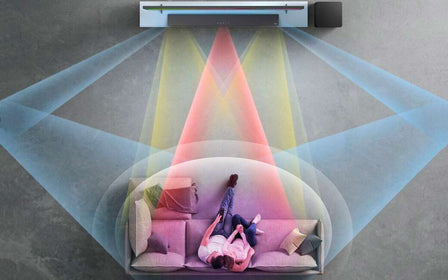
6. Room treatment
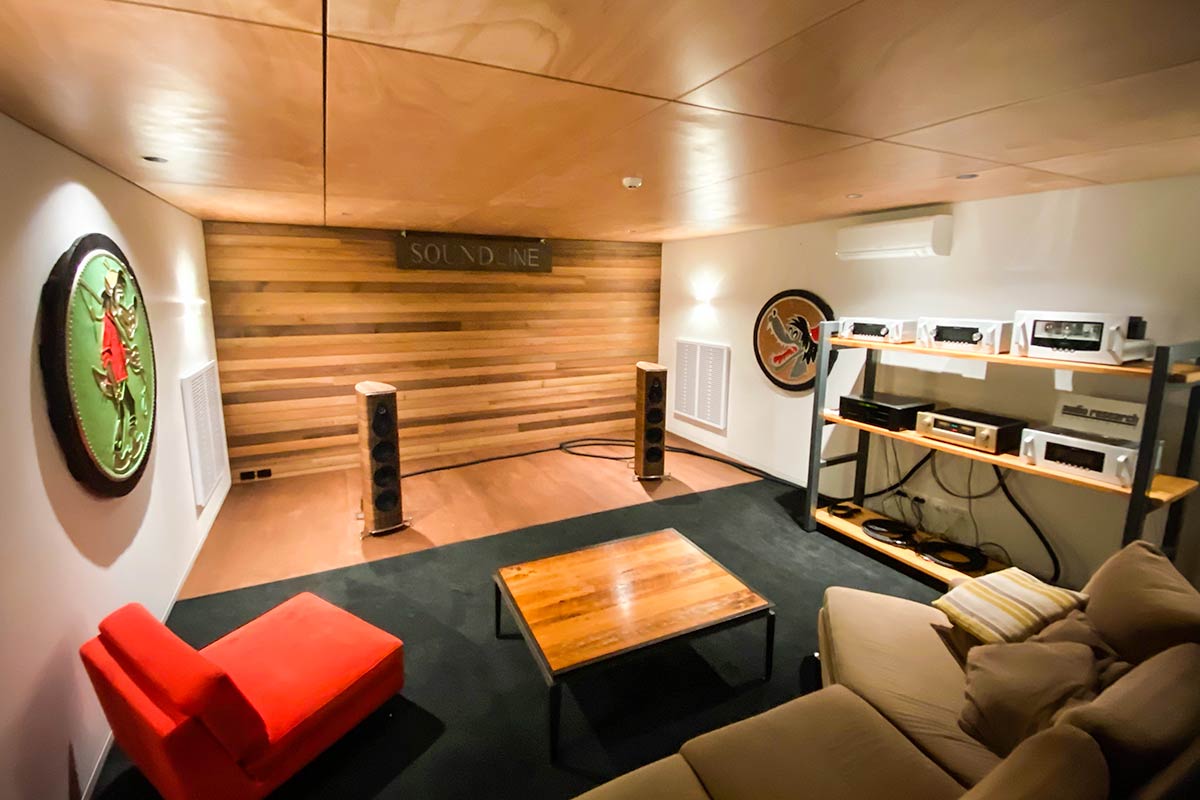
Imagine your listening room stripped of all furnishings and soft materials with just the hard surfaces remaining. Not going to sound that great right? There will be a huge amount of echo and reverberation, uneven frequency response and poor stereo imaging. The opposite to this situation is of course a room with lots of soft carpet, couches and chairs. Some wall items to combat reverberation and reflection such as pictures, hangings or audio specific wall treatments will also help. You’ll probably be surprised what a difference can be made just by adding a few extra items in the right places. Once more, there are no hard and fast rules here and experimentation is your friend. Acoustic room treatment is possibly one of the best things you can do for any sound system. Rooms in houses and buildings these days aren’t constructed with perfect acoustics in mind and therefore often have acoustic flaws or irregularities like nodes and standing waves that cancel certain frequencies out preventing you from hearing them properly. By treating your room with acoustic materials, you can fix all these potential problems and hear all your music as it was intended by the artist. At Soundline, we take into consideration the dimensions of your room and use specialist software to determine how to place any acoustic treatments for maximum benefit. We have a room at our showroom which has been fully treated with this material and we highly recommend experiencing it in person to hear the difference it makes.

7. Media
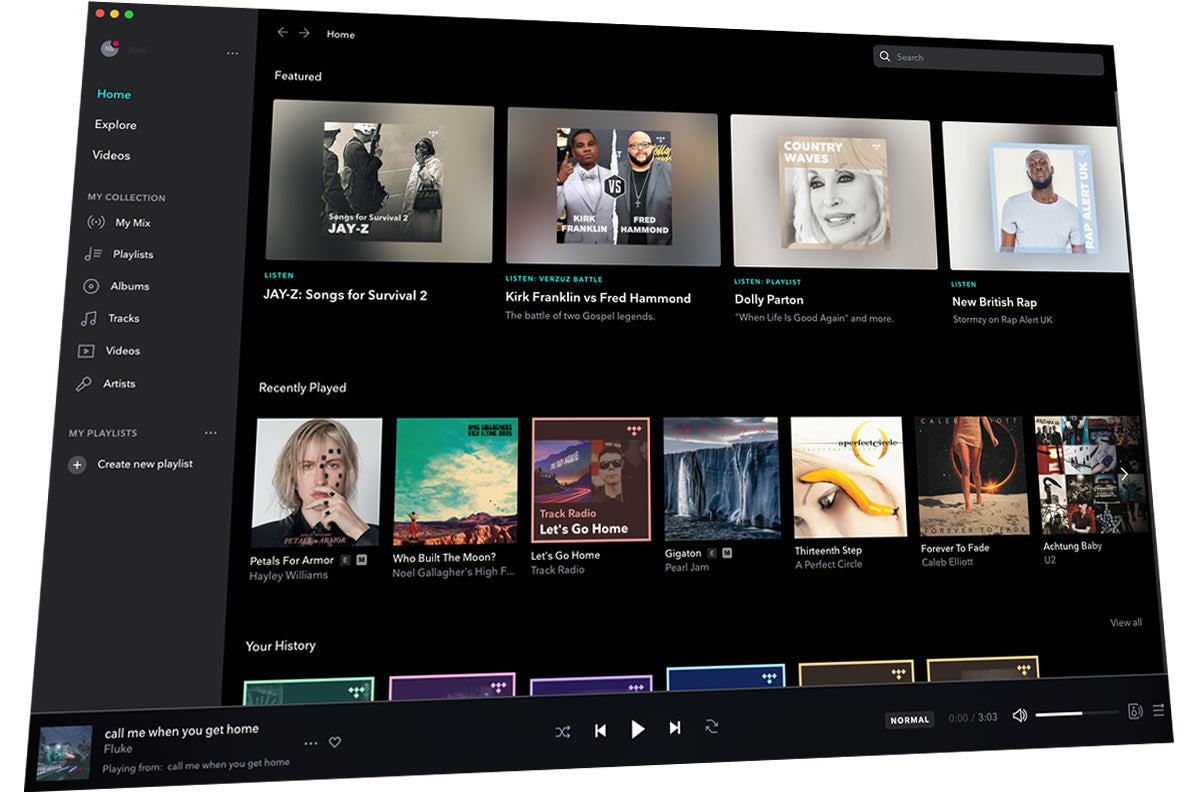
Last but certainly not least, have high quality media. You can’t make something from nothing and the same goes for sound quality. If you have a high end stereo system but are only playing low quality streaming services on it, the sound quality will be limited by those services. It is important to make sure with any stereo system, that you are feeding it high quality source material such as CD’s, records or high resolution digital files either from a local server in your house or a streaming service like Tidal or Amazon Music HD. This will ensure that all the detail is present from the beginning and you’ll get the most out of your sound system.
So there we have it. Seven areas that you can work on to improve the performance of your audio system without breaking the bank. Try new things, break the rules if you like and remember to keep an open mind and work towards a sound that suits you and your music tastes. If you need further advice on these or other aspects of your home theatre, get in touch with the team at Soundline. We’re always available to help you get the most from your system and offer some advice on how to improve the enjoyment of your music. Contact us today.